Blog Badge is a vital element for promoting your blog or special sections of your blog. Here is a step by step tutorial for creating your own blog badge using free tools.
So have you been waiting to host a link party? Or do you want to make a section of your blog popular? Do you want people to easily find you or link up on your site? You will definitely need a Blog Badge. Almost all bloggers you visit will already have their own badge. But how on earth are you going to get one for your blog? No you don’t need a designer for it, you don’t even need to shell out a single penny.
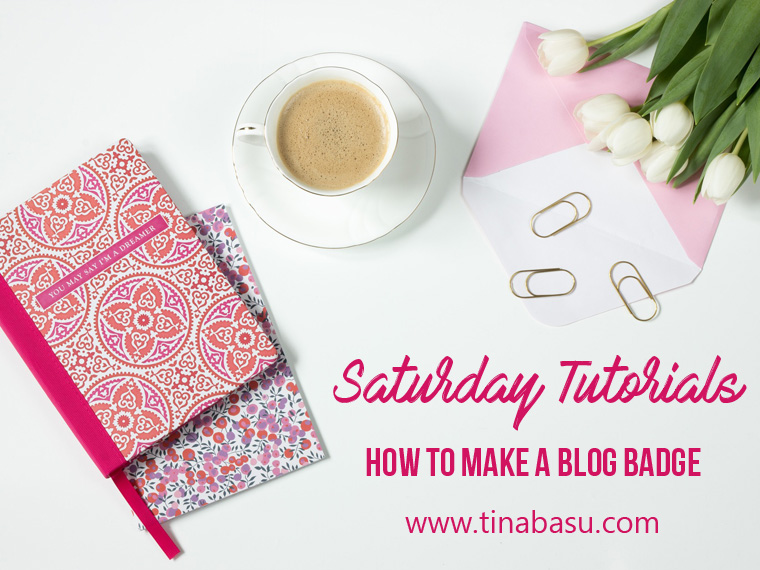
I am starting the Saturday Tutorial section in my blog where every Saturday I’ll be posting some tutorial and ‘how to’ posts. So you can expect tutorials on blogging, designing and many more. I am hoping to see here every Saturday and spread some love.
In this ‘how to’ post I am going to show you how to make a badge for your blog using Canva. There are many free sites available and you can easily make this using any of those sites too.
Get a Stock Photo
Get a good stock photo. There are tons of sites where you can get free stock photos like Pixabay.
I am creating a badge for Sunday Journaling – which could be a Link Party or a section in my blog some time in future.
Pro Tip – Look for images that has plenty of blank space so that you can write on it.
Create the Badge
- On your Canva dashboard click on USE CUSTOM DIMENSION
![]()
2. Enter dimension 200px 200 px and click on DESIGN. It will take you to a new page.
3. Click on UPLOADS and then UPLOAD YOUR OWN IMAGES
![]()
4. Upload your stock image
5. Resize and crop the image in the 200 x 200 px box using the transform handlers
![]()
6. Add Text, Hashtag and website details.
Pro Tip – Add only necessary text, too much text will kill the aesthetics.
![]()
7. Once your desired badge is ready click on DOWNLOAD and save the image in your system as a jpg file.
![]()
Upload the Image
1. If you are on Word Press upload the badge on your Media Library and copy the image URL in a notepad
![]()
2. If you are on Blogger go to any photo sharing site like PhotoBucket. Upload you image
3. Go to your photo “Library” and select your picture, you’ll need to copy the direct link
![]()
Coding the Badge
Now that your image has been uploaded your badge is more or less ready. But how are you going to use it? Simply as an image? NO. You need to make it sharable to your audience so that they can place your badge in their blogs as well. So here comes the important stage of coding the image to make it a function badge! Okay now don’t get scared if you don’t know the ABC of HTML and coding. We are going to do it without writing any code.
I use a code generator called Grab My Button. And it is fairly simple to code an image using this.
1. Fill up the form with the url details that you have collected in the notepad like the Image URL, your Blog URL
![]()
2. Scroll down the page and click on PREVIEW. You will be able to preview the badge at this point. But don’t copy this code
3. Click on the green GET CODE button
![]()
4. Copy the code from this window or click SELECT.
![]()
Now your badge is ready with the code. Paste this code in your post in the HTML / TEXT view. Your audience can now copy the code and place it on their blogs too!

So now your DIY Blog Badge is ready and you have already become a badass coder!
Guys tell me did you enjoy this #SaturdayTutorial ? If you did let me know what all you would want me to do for #SaturdayTutorials. If you have any queries about the tutorials do let me know in the comments below.
Until next time,
Cheers!
26 comments
Super awesome Theme and post, Tina!
Your detailed and easy to follow instructions will ensure that even a tech challenged person like me will be able to make their own Badge!
Thank you for this post!
Thank you mayuri, do make it and let me know
That’s wonderful…will try it.
yeah try and let me know Gopinath
Very useful information Tina. I love the grab your button part.i used HTML and could not change the size of the button.i let it be as it was on my site.now I am going to change it.thanks for the post
Yes This Grab my button makes it quite easy, you can even change colours according to your sites theme
Thanks for the lovely post Tina. I came to know about a new Stock image site.
Yeah I refer to this site pretty often. Thanks for dropping by
Excellent and detailed tutorial Tina! You’ve broken down and explained the steps in a simple manner that is easy for anyone to follow!
Thank you Jini. Yes I want to make my #SaturdayTutorials easy to follow so that one can make it easily. Thanks for dropping by
Special thanks for this one dear Tina ❤
Thank you Roma. Glad you liked it.
Oh how I love this post Gurl – thank you tonnnnnnes! not that I got it all; I am even more tech challenged than anyone else on this planet. I will ping you for some help in getting the URl code- that has gone way over my head.
But thank you thank you for this post. I am hooked to your sat posts now. 🙂
Thank you Shalzy. Yes you can ping me anytime for any query.
That came as a life saver. Thanks for doing this, Tina. More power to you. <3
You are most welcome Shalini. I’ll do more in here because I want to spread love
Thanks a lot for this post Tina specially the HTML part..I am completely unaware of how this works. But now I know as these are all easy to follow instructions.All the best to u for Saturday tutorials. 🙂
Thank you Tina, with grab my button it gets easier to code!
Good one Tina..Only drawback I see is that one needs to have a paid account to “custom dimension”. Let me know if I am wrong 🙂
Ekta
http://www.hautekutir.com
Such a useful post .
Very informative
Will create a badge for my blog too and let you know about it
Extremely useful Tina…..can I use the same process to design a logo.
Thank you Deepali. Wait for today’s post for the Logo!
Nicely explained.. will try out soon.
my heart was beating with fear as i began reading.. coz this coding techie stuff sounds like mumbo-jumbo to me! Your post made the steps clear.. now i know that, hopefully soon, I shall do a badge… and I can just re-visit here and follow the steps you have laid out! thanks for sharing 🙂
hehe, this is pretty easy, don’t get scared of the coding part.
Thanks for this. Extremely helpful.